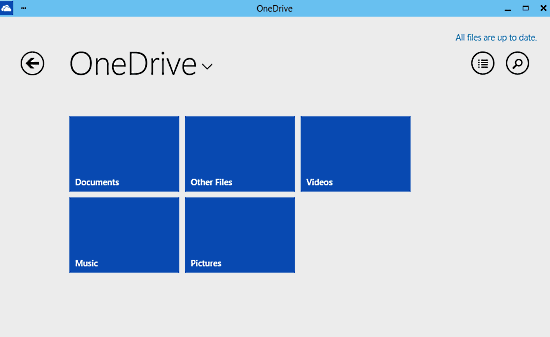
OneDrive is a free file hosting service that allows the user to store file, sync files online and access them from any computer or mobile device. It is now built into the Windows 10 so that you can’t remove it as many installed programs, even though, if you don’t want to use it, you can choose to disable and remove OneDrive from the File Explorer Sidebar with the following methods.
How to Disable OneDrive
- Click to open the Start menu, and click Run to open the Run box
- Type “gpedit.msc” in the box, and press Enter key, this running command will take you to the Local Group Policy Editor
- Navigate to the specific folders in Local Group Policy Editor: Local Computer Policy – Computer Configuration – Administrative Templates Windows Components – OneDrive
- Click “Prevent the usage of OneDrive for file storage” under the Setting section
- Enable the checkbox of Enabled, and click on OK
How to remove OneDrive
Warming tips: since the OneDrive removal requires a modification for the Registry Editor, which is a crucial place that stores many important system data, if you are not a computer wizard, it is not recommended to do any change of the system registry.
- Click to open the Start menu, and activate the Search box
- Enter “regedit” in the box to open Registry Editor
- Expand the groups of registries till you find the path: HKEY_CLASSES_ROOT\CLSID\{018D5C66-4533-4307-9B53-224DE2ED1FE6}
- Select the registry key, and click on Edit on the top menu
- change value of System.IsPinnedToNameSpaceTree DWORD to 0
- Close the Editor and restart File Explorer, you will finish to remove the OneDrive from File Explorer Sidebar. If you want to restore the OneDrive icon, just go back to change the value of System.IsPinnedToNam-eSpaceTreeDWORD to 1 again.
OK, that’s all, thanks for reading this post and good luck for you. And finally you can click here to know more about the OneDrive removal.